
How to Screenshot on a Windows 10 PC


20th July 2020, Kathmandu
We’ve all been in situations where we are using our laptop or PC, and we need to take a screenshot of our screen, right? Interestingly, most of us don’t know how to take a screenshot on a computer. It’s not as simple as taking a screenshot in your mobile but not hard as cracking some nuclear code either! So cheer up, we’ll teach you how to make a screenshot on Windows 10 PC in just a few simple steps!
How to take a screenshot on Windows 10 PC with the Prt Scn Key
Either you want to capture a screenshot of the entire screen or just a piece of it; it’s all possible on your PC.
Take a look at your keyboard and look for the “prt scr” key. It is sometimes spelled as “prt sc” or “PrntScr” in some devices.
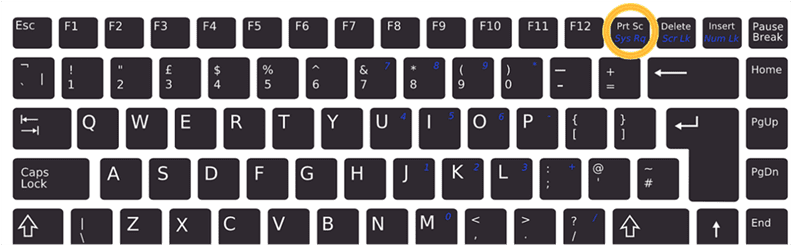
Here are the following steps you can take to take a screenshot on Windows 10 PC with the Prt Scn Key.
- Press “prt scrn”. This will copy the entire screen in your clipboard. You can then open “Paint” or “MS Word” and paste it there. You can crop to select only the piece of display you need from here as well.
- Press “Alt” + “prt scrn”. This will copy the active window in your clipboard. You can paste this into another program.
- Press “Windows Key” + “Shift” + “S”. When you do this, it dims the screen and your mouse cursor changes. You can choose to capture only a portion of the screen this way. However, this shortcut trick works if you have the latest Windows 10 installed.
- Press “Windows Key” + “prt scrn”. With this, your entire screen gets saved as an image file. You will find it in the “Pictures” folder with a subfolder “Screenshots”.

How to take a screenshot on Windows 10 PC with Snipping Tool
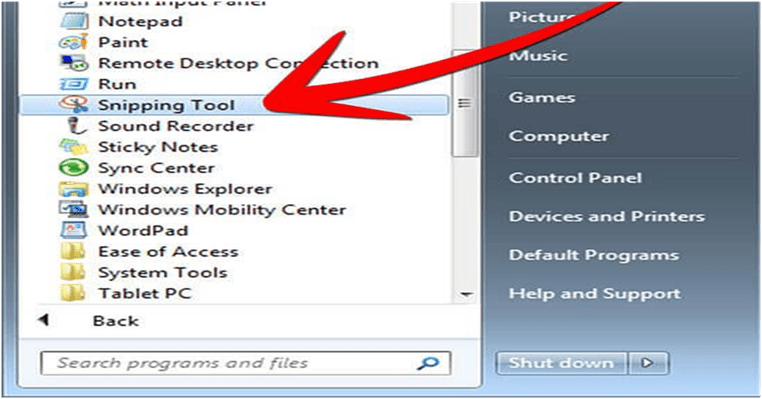
If you are using the latest Windows 10, chances are you already have a “Snipping Tool” in your App gallery.
- Go to Menu and Open Snipping Tool.
- You will notice a “Mode” drop-down option. You can choose the shape of your screenshot from there.
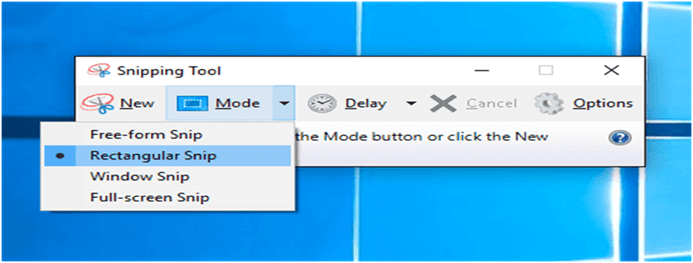
3. Click “New”. You will notice that the screen is now captured. You can use your mouse to create the screenshot. Once you finish, the screenshot will appear in your Snipping Tool window.
4. The fun thing here is that you can also edit your screenshot in Snipping Tool!
Advertisement

5. Once you’re done, go to “File” and click “Save As” to save your screenshot.
Useful Articles:
- How to Download Instagram Photos, Videos on PC, MAC, and Phone
- Step by Step Guide on How to Pin Comments on Instagram
We are pretty sure you are clear on how to take a screenshot on Windows 10. We also have a third way of making a screenshot. Want to learn that too?
How to take a screenshot on Windows 10 PC with the Game Bar
Have you ever heard of the Game bar?
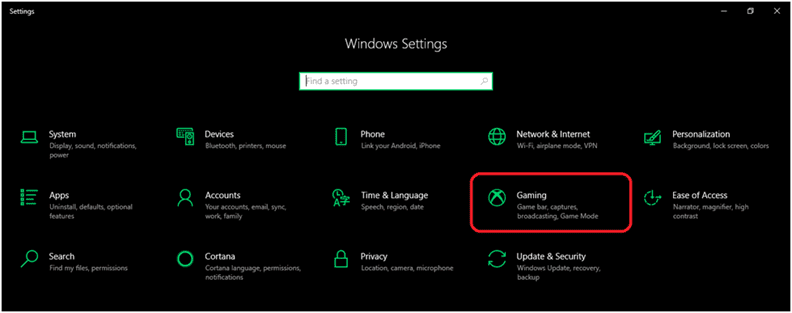
It’s an overlay you can use with most Windows games to record videos and take screenshots. Amazing, right?
- Start a game from your PC.
- While playing the game, you can press “Windows Key” + “G” anytime you like. The Game Bar appears just there.
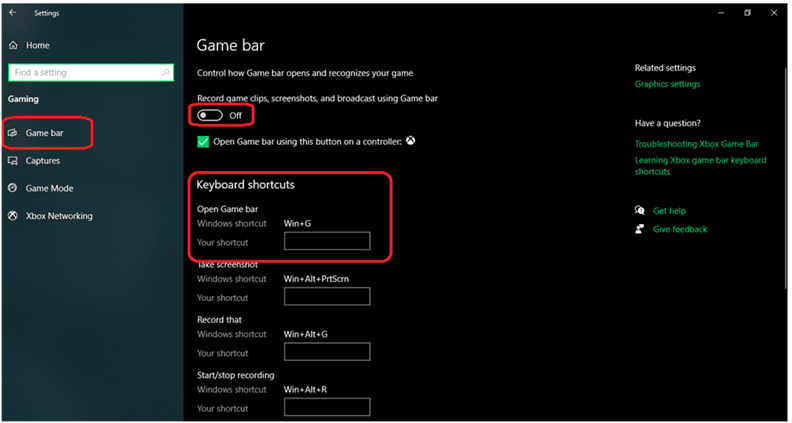
3. Click the camera icon to take the screenshot or if you feel more comfortable with keys, use “Windows key” + “Alt” + “Prt Scn”.
4. To find your captured images from your games, go to your “Video” folder and into the “Captures” subfolder!
There you go with all the tricks on how to screenshot on a Windows 10 PC! We hope you will have tons of fun taking screenshots. Also, share this new-found knowledge with your friends and make their lives easier!
You may also like:


